Best Ankle Support Straps to Buy in July 2026
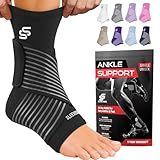
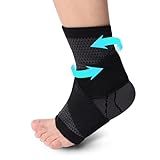
Bodyprox Ankle Support Brace, Breathable Neoprene Sleeve, Adjustable Wrap! (1 Pack)
- ONE SIZE FITS ALL: EASILY ACCOMMODATES ANY FOOT SIZE FROM 7.8 TO 11.
- SUPPORTS ANKLE HEALTH: REDUCES INJURY RISK WHILE ENHANCING ACTIVITY PERFORMANCE.
- COMFORTABLE HEALING: BREATHABLE DESIGN PROVIDES PAIN RELIEF AND EASY CLEANING.


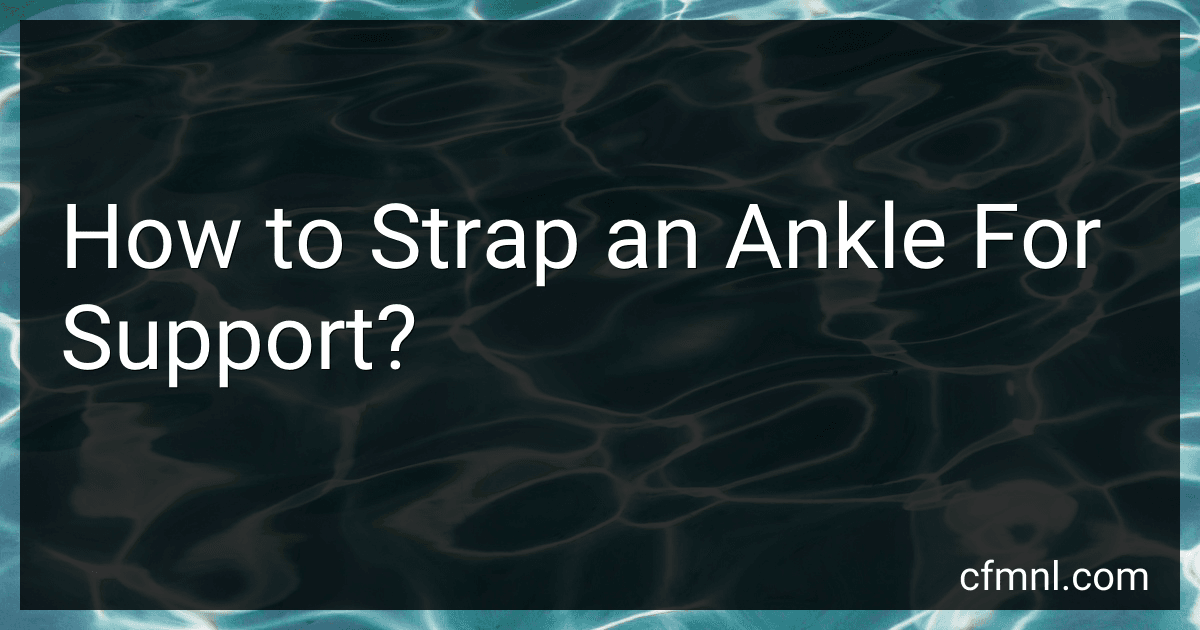
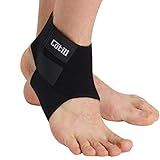
Candy Li Ankle Support,Adjustable Ankle Brace Breathable Nylon Material Super Elastic and Comfortable,1 Size Fits all, Suitable for Sports (blue 1)
- ADJUSTABLE TIGHTNESS FOR CUSTOMIZABLE SUPPORT AND COMFORT.
- ONE SIZE FITS ALL-VERSATILE FOR ANY FOOT SHAPE AND SIZE.
- NON-SLIP SILICONE INSIDE ENSURES STABILITY DURING MOVEMENT.
BraceUP Ankle Brace - Relieve Pain, Enhance Stability for Foot Pain, Sprained Ankle, Achilles Tendonitis, Men and Women
-
PAIN RELIEF & COMFORT: MILD SUPPORT FOR SPRAINS & JOINT DISCOMFORT.
-
ENHANCED STABILITY: REINFORCED STABILIZERS LIMIT LATERAL MOTION.
-
CUSTOM FIT: ADJUSTABLE STRAPS ALLOW GRADUAL COMPRESSION INCREASE.
Sleeve Stars Ankle Brace for Women & Men, Ankle Wrap for Sprain, Compression Sleeve for Plantar Fasciitis Relief, Easy Customizable Support: w/ Removable Strap (Single/M:10"-12"/Black)
- CUSTOMIZE YOUR RECOVERY WITH ADJUSTABLE COMPRESSION FOR ALL ACTIVITIES.
- BREATHABLE FABRIC ENSURES COMFORT AND SWEAT ABSORPTION ALL DAY LONG.
- PREVENT INJURIES AND SUPPORT SPRAINS WITH A SNUG, SECURE FIT ALWAYS.
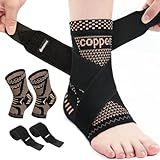
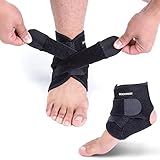
INDEEMAX Ankle Brace for Women & Men, Ankle Compression Sleeve Support Copper Infused Ankle Brace for Sprained Ankle, Plantar Fasciitis Sports, Achilles Tendonitis Pain Relief, Copper Black, M
- ✅ COPPER-INFUSED FOR ODOR-FREE, BREATHABLE COMFORT AND MOISTURE CONTROL!
- ✅ MEDICAL-GRADE COMPRESSION BOOSTS BLOOD FLOW AND RELIEVES PAIN EFFECTIVELY!
- ✅ ADJUSTABLE STRAPS FOR CUSTOM SUPPORT DURING ANY ACTIVITY OR SPORT!

Rbenxia 4 Pieces of Black Elastic Ankle Compression Bandage Adjustable Ankle Strap Heel Brace Wraps Breathable Ankle Band for Stabilising Ligament, Joint Pain, Sport (70 cm)
-
VERSATILE USE: PERFECT FOR SPORTS LIKE RUNNING, YOGA, AND WEIGHTLIFTING.
-
DURABLE COMFORT: HIGH-QUALITY, BREATHABLE MATERIAL FOR LONG-LASTING WEAR.
-
ADJUSTABLE FIT: HOOK AND LOOP CLOSURE ENSURES A SECURE, CUSTOMIZED FIT.
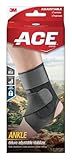
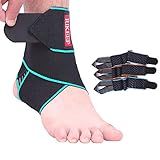
ACE Deluxe Ankle Stabilizer, Adjustable, Black, 1/Pack
- LIMIT LATERAL MOTION WITH REINFORCED SIDE STABILIZERS.
- CUSTOMIZABLE COMPRESSION AND SUPPORT FOR PERSONALIZED COMFORT.
- BREATHABLE MATERIALS KEEP SKIN DRY FOR ALL-DAY WEAR.
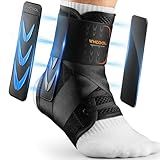
WHCOOL Slim-Fit Ankle Brace for Sprained Ankle, Quick Lace Up Ankle Support for Women Men With 2 Auto-Shaped Pads, Air Fabric Cool Ankle Stabilizer for Injury Recover, Running,Sports, M(12”-13”)
- PERFECT FIT & SUPPORT FOR ANKLE INJURIES: AUTO-SHAPED PADS ENSURE COMFORT.
- QUICK & EASY TO WEAR: HOOK-AND-LOOP FASTENING SAVES YOU TIME!
- BREATHABLE & COMFORTABLE DESIGN: AIR FABRIC KEEPS FEET FRESH ALL-DAY.
Consss Ankle Brace, Achilles & Plantar Fasciitis Relief Compression Sleeve, Foot Brace with Ankle Support Strap for Women and Men, Heel Protector Wrap for Pain, Tendonitis & Sprain
- TARGETED COMPRESSION: ACCELERATES RECOVERY FROM FOOT DISCOMFORTS!
- ADJUSTABLE SUPPORT STRAP: CUSTOMIZE COMPRESSION & ENJOY FULL MOBILITY.
- VERSATILE FOR ANY ACTIVITY: PERFECT FOR SPORTS & EVERYDAY COMFORT!
Cotill Ankle Support for Men and Women - Neoprene Breathable Adjustable Ankle Brace Sprain for Running, Basketball (Medium) …
-
CUSTOM FIT WITH DOUBLE ADJUSTABLE STRAPS FOR ULTIMATE COMFORT.
-
ULTRA STRONG SUPPORT FOR RECOVERY AND PREVENTING ANKLE INJURIES.
-
BREATHABLE NEOPRENE FOR ALL-DAY COMFORT AND ENHANCED RECOVERY.
When strapping an ankle for support, it is important to first assess the injury and consult with a healthcare professional if necessary.
To begin, you will need a support bandage or athletic tape. Start by wrapping the bandage or tape around the foot and ankle, starting at the arch of the foot and working your way up towards the calf.
Make sure to apply even pressure as you wrap, ensuring that the bandage or tape is snug but not too tight. Be sure to leave the toes and heel exposed to ensure proper circulation.
Continue wrapping in a figure-eight pattern around the ankle, making sure to cover the entire area of the injury. Secure the bandage or tape with clips or fasteners, making sure it is secure but still comfortable.
It is important to test the range of motion in the ankle after strapping to ensure that it is not too restrictive. If there is any discomfort or pain, loosen the bandage slightly.
Remember to remove the bandage or tape before sleeping and reapply as needed. Always follow any specific instructions given by a healthcare professional for your specific injury.
What is the recommended timeline for removing tape after ankle strapping?
It is generally recommended to remove tape after ankle strapping within 24-72 hours. Leaving the tape on for too long can cause skin irritation and potential damage. Additionally, it is important to regularly check the skin under the tape for any signs of irritation or infection. If you experience any discomfort or the skin becomes irritated, remove the tape immediately and seek medical advice.
What is the role of proprioception in ankle stability?
Proprioception plays a crucial role in ankle stability by providing information to the brain about the position and movement of the ankle joint. This feedback allows the brain to make adjustments in the muscles and ligaments surrounding the ankle to maintain joint stability and prevent injury.
Proprioceptors are sensory receptors located in the muscles, tendons, and joints that provide information about the body's position in space, the direction and speed of movement, and the amount of force being exerted. In the ankle, proprioceptors help to detect changes in joint position, detect uneven terrain or obstacles, and provide feedback on the amount of force being applied during activities such as walking, running, and jumping.
When proprioception is impaired, such as after an ankle injury, the brain may not receive accurate information about the position and movement of the joint. This can lead to decreased stability and increased risk of re-injury. Improving proprioception through exercises and rehabilitation can help to enhance ankle stability and reduce the risk of future injuries.
What is the best way to adjust support strapping during physical activity?
The best way to adjust support strapping during physical activity is to make sure it is snug but not too tight, as it may restrict blood flow. It should be supportive and comfortable, allowing for a full range of motion. If the strapping loosens during activity, it is important to stop and readjust it to ensure proper support. Additionally, it is important to regularly check the strapping to make sure it is still providing the necessary support and adjust as needed.
How to determine the right amount of compression when strapping an ankle?
Determining the right amount of compression when strapping an ankle is important to provide support and stability without restricting blood flow or causing discomfort. Here are some guidelines to help you determine the right amount of compression:
- Start by selecting the appropriate compression bandage or strap. Look for a bandage that offers adjustable compression levels and is specifically designed for ankle support.
- Secure the bandage snugly around the ankle, making sure it is comfortably tight but not too constricting. You should be able to slide a finger under the bandage easily.
- Check for any signs of discomfort, numbness, or tingling. If you experience any of these sensations, the bandage may be too tight and should be loosened.
- Assess the level of support provided by the bandage. The ankle should feel stable and secure, with minimal movement in all directions.
- Move your ankle in a gentle range of motion to test the compression level. If you feel restricted or uncomfortable, adjust the bandage accordingly.
- Pay attention to any changes in swelling or pain. If the ankle becomes more swollen or painful during activity, you may need to readjust the compression level.
- Consult with a healthcare professional if you are unsure about the right amount of compression or if you have any concerns about strapping your ankle correctly.
Overall, the right amount of compression when strapping an ankle will vary depending on individual needs and comfort levels. It may take some trial and error to find the perfect fit, so be patient and make adjustments as needed.