Best Snowboard Helmet Paints to Buy in July 2026
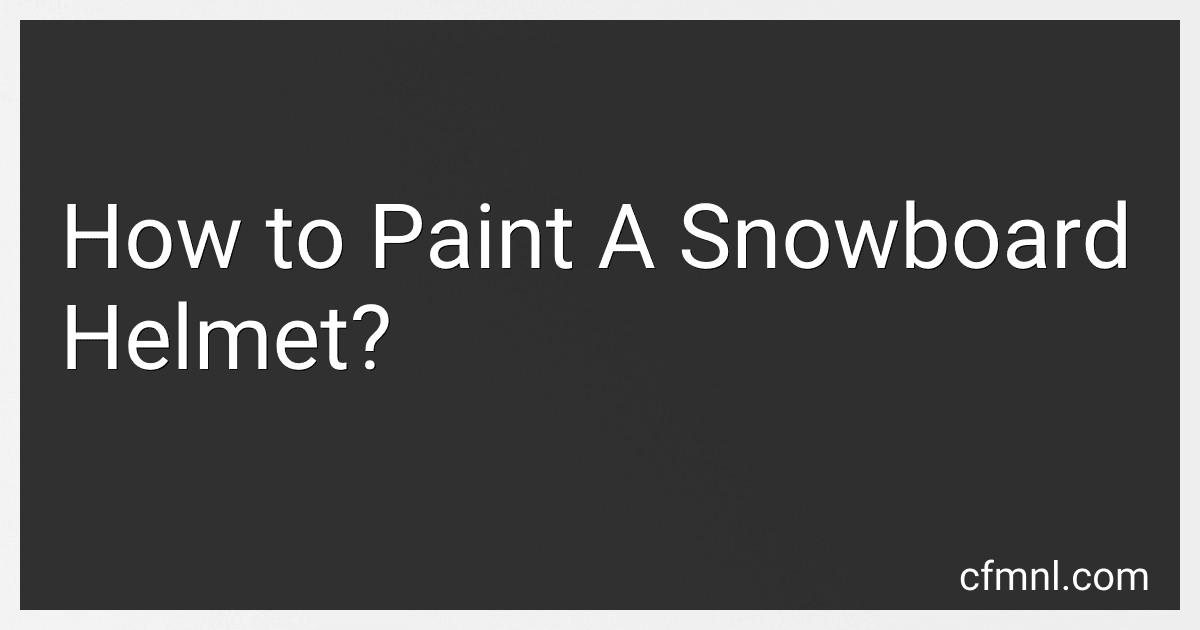
OutdoorMaster Kelvin Ski Helmet - Snowboard Helmet for Men, Women & Youth (Blue,M)
- ULTIMATE COMFORT & SAFETY: REINFORCED ABS SHELL FOR PROTECTION!
- 22 STYLISH COLORS: CHOOSE YOUR PERFECT MATTE FINISH DESIGN!
- ADJUSTABLE FIT: SIZE DIAL & REMOVABLE PADS FOR PERSONALIZED COMFORT!


Pack Art Painting Stickers 100Pcs for Decoration Water Bottle Bike Skateboard Luggage Toy Snowboard Helmet Motorcycle Gifts
-
HIGH-QUALITY, WATERPROOF STICKERS WITH REUSABLE, RESIDUE-FREE TACKINESS.
-
PERSONALIZE LAPTOPS, MUGS, AND MORE WITH OUR VIBRANT STICKER COLLECTION.
-
PERFECT GIFTS FOR FRIENDS, FAMILY, AND COLLEAGUES-DELIGHT EVERYONE!
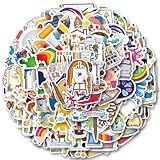
TurboSke Ski Helmet, Snowboard Helmet Snow Sports Helmet, Audio Compatible and Lightweight, ASTM Standard Helmet for Men, Women and Youth (S, Gray)
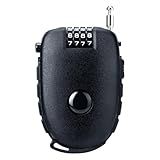
JAGASOL Motorcycle Helmet Lock, 4 Digit Combination 27.5 Inch Retractable Cable Lock for Snowboard, Bike Luggage Backpack Scooter Suitcase Ski, Small Multi-Function Secure Lock for Travel, Black
- ULTIMATE SECURITY: PROTECT YOUR GEAR WITH VERSATILE, MAXIMUM STRENGTH.
- EFFORTLESS USE: ONE-BUTTON RETRACTION FOR QUICK, DURABLE ACCESS.
- TRAVEL LIGHT: STYLISH, PORTABLE DESIGN ENSURES SECURITY ON THE GO.
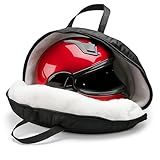
Formosa Covers Helmet Carrying Bag for Motorcycle/Cycling/ATV/UTV/Scooter/Snowboard Helmet. Universal Size and Ultimate White Fleece Inner Lining Protection.
- UNIVERSAL DESIGN FITS MOTORCYCLE HELMETS AND OTHER PROTECTIVE GEAR.
- PREMIUM NYLON AND SOFT FLEECE OFFER SUPERIOR PROTECTION FOR HELMETS.
- WATERPROOF WITH EASY-ACCESS OPENINGS FOR SECURE TRANSPORT ANYWHERE.
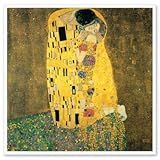
Gustav Klimt The Kiss Painting Vinyl Sticker - Car Phone Helmet Bumper Sticker Decal
- DURABLE VINYL: LASTS 3-5 YEARS; WON'T PEEL OR FADE!
- VERSATILE USE: STICK ON CARS, BOATS, LAPTOPS, AND MORE!
- PROUDLY MADE IN THE USA WITH HIGH-PERFORMANCE MATERIALS!

ULTRAVUTT (3Pcs, 3"x4") Ski Like a Girl Try to Keep Up Skiing Winter Sticker Funny Skiing Stickers, Winter Skiing Decal, Snowboarder Gift Decoration Helmet Snowboard Bumper
- HUMOROUS DESIGNS ADD FUN TO WINTER GEAR AND ADVENTURES!
- DURABLE, WATERPROOF VINYL ENSURES LONG-LASTING ENJOYMENT.
- VERSATILE APPLICATION ON VARIOUS SURFACES FOR MAXIMUM VISIBILITY.
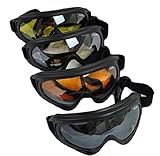
4 Goggles/Lot - Black + Clear + Amber + Yellow Multi Use Motorcycle Riding Snowboard Airsoft Protective Goggles Safety Glasses Sport Ski Airsoft Paintball
- FOUR LENS COLORS INCLUDED FOR VERSATILE VISIBILITY OPTIONS!
- HIGH-IMPACT POLYCARBONATE LENSES WITH UV-400 PROTECTION.
- COMFORTABLE FIT WITH SOFT FOAM AND ADJUSTABLE ELASTIC STRAP.
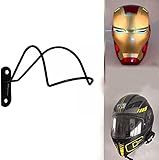
AUXPhome Professional Design - Wall Mounted Helmet Rack Storage Display Rack Hanger Motorcycle Helmet Holder Hook for Iron Man/Scout Trooper/Hockey/Equestrian/Baseball Helmet(No Helmet)
- EASY WALL INSTALLATION; FITS ALL HELMET TYPES FOR VERSATILE USE.
- DURABLE METAL DESIGN EXTENDS YOUR HELMET'S LIFESPAN EFFECTIVELY.
- AIR-DRYING FEATURE PREVENTS FOAM DETERIORATION FOR LONG-TERM CARE.
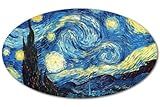
Starry Night Painting Oval Vinyl Sticker - Car Phone Helmet - Select Size
- DURABLE OUTDOOR VINYL: LASTS 3-5 YEARS AGAINST THE ELEMENTS.
- VERSATILE SIZE: PERFECT FOR PHONES, CARS, LAPTOPS, AND MORE.
- EASY APPLICATION: JUST PEEL, STICK, AND ENJOY YOUR DESIGN!
Painting a snowboard helmet is a great way to personalize your gear and express your style on the slopes. Here's a step-by-step guide on how to paint a snowboard helmet:
- Preparation: Start by cleaning the helmet thoroughly. Remove any dirt and grease using mild soap and water. Dry it completely before moving forward.
- Disassembling: If your helmet has any removable parts like the liner or ear pads, take them out. This will make the painting process easier and ensure a more uniform finish.
- Sanding: Using fine-grit sandpaper, gently sand the surface of the helmet. This helps create a rough surface for the paint to adhere to. Be cautious not to sand too hard or damage the helmet's structure.
- Priming: Apply a coat of primer specifically designed for plastic or fiberglass surfaces. This acts as a base layer and helps the paint adhere better to the helmet. Follow the instructions on the primer for drying time.
- Painting: Choose high-quality acrylic or spray paint suitable for plastic surfaces. Apply thin, even coats, holding the can approximately 6-8 inches away from the helmet. Allow each coat to dry completely before applying the next one. Repeat until you achieve your desired color and coverage. Remember, it's better to apply several thin coats rather than one thick coat to avoid drips and uneven coverage.
- Design: Get creative with your design! You can use stencils, masking tape, or freehand painting to add unique patterns, logos, or artwork onto your helmet. Allow any additional paint layers to dry completely before moving on.
- Clear-coating: Once you are satisfied with your design, apply a clear topcoat to protect the paintwork. This will also give your helmet a glossy finish. Follow the instructions on the topcoat for drying time.
- Reassembling: After the paint and topcoat have dried completely, carefully reassemble any parts you removed earlier, such as the liner or ear pads.
- Curing: Allow the paint and topcoat to cure for the recommended time mentioned on the paint product instructions. This typically takes a few days, depending on the manufacturer's suggestions.
- Finishing touches: Once completely cured, examine your helmet for any imperfections or areas that may need touch-ups. Fix any issues by applying more paint or topcoat as needed.
Remember, safety should never be compromised for style. Ensure that the paint and clear coat used are non-toxic and don't interfere with the helmet's protective properties. Happy painting, and enjoy your newly customized snowboard helmet!
How to prepare a snowboard helmet for painting?
Preparing a snowboard helmet for painting involves several steps. Here's a step-by-step guide on how to do it:
- Clean the helmet: Start by wiping the entire helmet with a damp cloth or sponge to remove any dirt, dust, or debris. Make sure the surface is clean and dry before proceeding to the next step.
- Sand the helmet: Use fine-grit sandpaper (around 400-600 grit) to gently sand the surface of the helmet. This will create a rougher texture, allowing the paint to adhere better. Be careful not to sand too aggressively to avoid damaging the helmet.
- Remove any stickers or decals: If there are any stickers or decals on the helmet, carefully peel them off. Use a heat gun or hairdryer on low heat to soften adhesive if necessary. Any remaining sticky residue can be removed using rubbing alcohol or sticker remover.
- Mask off areas: Cover any parts of the helmet that you don't want to paint using masking tape or painter's tape. This includes the foam padding, straps, and any other areas that shouldn't come into contact with the paint.
- Apply primer: Using a spray primer specifically designed for helmets, apply a light, even coat all over the helmet surface. Hold the spray can about 6-8 inches away from the helmet, and apply multiple thin coats rather than one thick coat. Allow the primer to dry completely according to the manufacturer's instructions.
- Sand the primer: After the primer has dried, lightly sand the helmet again with a fine-grit sandpaper. This will help smooth out any imperfections and create a better surface for the paint to adhere to. Wipe away any dust produced during sanding.
- Paint the helmet: Choose a high-quality spray paint designed for helmet use and your desired color. Shake the paint can thoroughly, then apply light, even coats in a sweeping motion. Allow each coat to dry completely before applying the next one. Apply multiple thin coats, rather than one thick coat, to achieve a smooth, professional finish. Follow the manufacturer's instructions regarding drying time.
- Apply a clear coat: Once the paint is completely dry, apply a clear coat specifically designed for helmets. This will add an extra layer of protection and provide a glossy finish. Follow the manufacturer's instructions for application and drying time.
- Remove masking tape: Once the clear coat has dried, carefully remove the masking tape from the helmet. Do it slowly and gently to avoid accidentally peeling off any paint.
Remember to work in a well-ventilated area and follow all safety precautions mentioned on the paint and primer containers. Painting a helmet can alter its safety features, so ensure you use paint products specifically designed for helmet usage.
How to repair any paint chips or scratches on a snowboard helmet?
Repairing paint chips or scratches on a snowboard helmet can be done at home with a few simple steps. Here's how:
- Clean the helmet: Start by thoroughly cleaning the affected area. Use mild soap and water to remove any dust, dirt, or debris. Let it dry completely.
- Sand the area: Use fine-grit sandpaper (around 600-800 grit) to gently sand the paint chip or scratch and the surrounding area. This step helps to create a smooth surface for the paint to adhere to.
- Apply a primer: Apply a thin layer of primer specifically designed for plastic surfaces. Use a small brush to carefully cover the damaged area. Follow the manufacturer's instructions for drying time.
- Apply matching paint: Use paint specifically designed for helmets or plastic surfaces in the color that matches your helmet. Apply a thin and even layer of paint using a small brush. Allow it to dry completely before applying a second coat if necessary.
- Seal the painted area: To protect the newly painted area, apply a thin layer of clear coat or helmet wax. Let it dry completely.
- Polish the helmet: Use a microfiber cloth and helmet polish to gently buff the repaired area. This step helps to blend the repaired section with the rest of the helmet.
Note: It's essential to follow the manufacturer's instructions provided with the products you choose for repairing your helmet's paint chips or scratches.
If you're unsure or uncomfortable doing the repairs yourself, consider taking your helmet to a professional helmet repair service or a local snowboard shop for assistance.
How to avoid paint drips or clumps when painting a snowboard helmet?
To avoid paint drips or clumps when painting a snowboard helmet, follow these steps:
- Preparation: Begin by thoroughly cleaning the helmet's surface to remove any dirt, grease, or dust. Use a mild detergent and water, and let the helmet dry completely before proceeding.
- Sanding: Lightly sand the helmet's surface using fine-grit sandpaper. This helps create a smooth texture for better paint adhesion. Be gentle and avoid going too rough, as you don't want to damage the helmet's protective layer.
- Prime the surface: Applying a primer helps the paint adhere better and prevents drips or clumps. Use a spray-on primer designed for the helmet's material or consult the manufacturer's instructions. Apply a thin, even coat following the recommended drying time.
- Painting technique: When painting, it's important to use light and even strokes. Hold the spray can or paintbrush around 6-8 inches away from the helmet's surface. Apply multiple thin coats instead of one thick layer, allowing each coat to dry completely before applying the next. This prevents the paint from running or creating clumps.
- Proper drying: After you've painted the last coat, allow the helmet to dry according to the paint manufacturer's instructions. This usually takes around 24 hours. Avoid expedited drying methods like using heat or direct sunlight, as they can result in uneven drying, drips, or clumps.
- Clear coat: To enhance protection and durability, consider applying a clear coat specifically designed for helmets. Clear coats also help seal the paint and provide a smooth finish. Apply it in the same manner as the paint, using light, even strokes and multiple thin coats.
By following these steps, you can achieve a smooth paint finish on your snowboard helmet without any drips or clumps.
How to remove any existing decals or stickers from a snowboard helmet before painting?
To remove decals or stickers from a snowboard helmet before painting, follow these steps:
- Start by soaking a clean cloth or sponge in warm, soapy water. Gently rub the sticker or decal to see if it starts to loosen.
- If warm, soapy water doesn't work, try using a hairdryer or a heat gun on a low setting. Hold the tool a few inches away from the sticker, moving it back and forth to apply gentle heat. This will help soften the adhesive and make it easier to remove.
- Once the sticker or decal is warm, try peeling it off slowly. Use a plastic scraper or your fingertips to lift the edge of the sticker. Be careful not to scratch or damage the helmet's surface.
- If the sticker or decal is stubborn and doesn't come off easily, use a specialized adhesive remover or solvent. Apply a small amount of the remover to a clean cloth and rub it on the sticker. Allow it to sit for a few minutes to penetrate the adhesive, and then gently peel off the sticker or decal.
- After removing the sticker or decal, use the same warm, soapy water or a mild detergent to clean any remaining residue. Use a soft cloth or sponge to gently scrub the area.
- Rinse the helmet thoroughly with clean water to remove any soap or adhesive remover residue, and then pat it dry with a clean cloth.
- Once the helmet is completely dry, it will be ready for painting or any other customization you have in mind.
Remember to read and follow the instructions on any adhesive removers or solvents, and always test them on a small, inconspicuous area of the helmet first to ensure they do not cause any damage.
How to achieve a glossy or matte finish on a painted snowboard helmet?
To achieve a glossy or matte finish on a painted snowboard helmet, follow the steps below:
For a Glossy Finish:
- Prepare the Helmet: Clean the helmet thoroughly to remove any dirt, grease, or wax. Use a mild soap and water solution, and then rinse it off. Ensure the helmet is completely dry before proceeding.
- Sanding: Use a fine-grit sandpaper (around 400-600 grit) to lightly sand the helmet's surface. This step helps to create a smooth and even surface, which is essential for achieving a glossy finish.
- Prime the Helmet: Apply a primer specifically designed for plastic or metal surfaces, depending on your helmet's material. Priming helps the paint adhere better and improves the overall finish. Apply the primer evenly, following the manufacturer's instructions, and let it dry completely.
- Paint the Helmet: Choose a high-quality paint designed for helmets or plastic surfaces. Use a spray paint can or airbrush to achieve an even and smooth coat. Apply thin layers of paint, allowing each layer to dry completely before applying the next one. Apply multiple coats until you achieve the desired color intensity.
- Clear Coat: Select a clear coat with a glossy finish, specifically designed for helmets or plastic surfaces. Apply the clear coat in thin, even layers, following the manufacturer's instructions. Allow each layer to dry completely before applying the next coat.
- Buff and Polish: Once the clear coat is dry, use a fine-grit sandpaper (around 800-1200 grit) to gently sand the surface, creating a smooth finish. Apply a polishing compound or wax designed for helmets or automotive finishes, following the manufacturer's instructions, to achieve a glossy shine.
For a Matte Finish:
- Follow steps 1 and 2 mentioned above.
- Primer and Base Coat: Apply a primer designed for plastic or metal surfaces, and let it dry completely. Then, apply a matte-finish paint on the helmet, following the manufacturer's instructions. Apply thin, even layers, allowing each layer to dry before applying the next coat. Repeat this process until you achieve the desired color intensity.
- Clear Coat: Apply a clear coat with a matte or satin finish, specifically designed for helmets or plastic surfaces. Apply thin, even layers, following the manufacturer's instructions, and allow the clear coat to dry completely.
- Buffing and Polishing (Optional): If you desire a smoother finish, you can lightly buff the helmet's surface with a fine-grit sandpaper (around 800-1200 grit). However, be cautious to avoid buffing too vigorously, as this can remove the matte finish.
Note: Always work in a well-ventilated area and follow safety precautions, including wearing gloves, goggles, and a mask to protect yourself from potentially harmful fumes and particles.