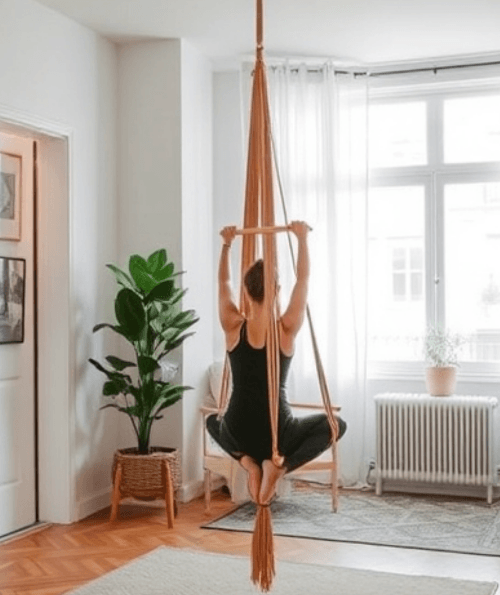
Are you ready to bring the magic of aerial yoga into your apartment? A yoga swing can transform your practice, offering incredible benefits for flexibility, strength, and relaxation. But before you start swinging through the air, you need to know how to properly install your yoga swing in your apartment. Here’s a comprehensive step-by-step guide to hanging a yoga swing safely and securely.
1. Choose the Right Spot
The first step in hanging a yoga swing is selecting the ideal location. You'll need a sturdy ceiling or a support beam to ensure your swing can handle your weight. A yoga swing requires a minimum of 7-8 feet of clearance for comfortable movement.
Where to Install Your Yoga Swing:
- Ceiling Beams: These are the best option, as they are designed to support heavy loads.
- Doorways: If your apartment doesn’t have exposed beams, you can install a yoga swing in a doorway with the right hardware.
- Walls: In some cases, you can mount the swing to strong, reinforced walls.
Make sure the area is clear of furniture or anything that might get in the way while you’re practicing.
2. Measure and Mark the Installation Points
Once you’ve selected the perfect spot, you’ll need to measure and mark where you’ll drill. Use a tape measure to ensure that the swing will be centered and at the right height for your practice.
3. Gather the Necessary Tools
To hang your yoga swing, you’ll need a few basic tools. These may vary slightly depending on the installation method, but generally, you’ll need:
- Drill with appropriate drill bits
- Heavy-duty ceiling hooks or mounts (preferably rated for 300+ lbs)
- Screws or bolts
- A stud finder (if you're installing in a wall)
- A wrench or screwdriver
- A level (for accurate alignment)
4. Install the Mounting Hardware
If Installing on Ceiling Beams:
- Use the stud finder to locate the beams in the ceiling.
- Mark the points where you’ll install the ceiling hooks.
- Drill pilot holes at the marked points, then screw in the ceiling hooks or mounts.
- Ensure the hooks are secure and can hold your weight before proceeding.
If Installing in a Doorframe:
- Attach doorway mounts with screws to the top of your doorframe.
- Follow the manufacturer’s instructions to ensure proper attachment.
5. Attach the Yoga Swing
After the hardware is securely in place, it’s time to attach the yoga swing. Depending on the model, the swing may come with carabiners or straps. Attach the swing to the hooks or mounts, making sure it hangs freely and is level.
6. Test the Swing
Before you jump into your first aerial yoga pose, it’s essential to test the swing. Gently sit in the swing and apply some weight. If everything feels secure, you can proceed to your practice. If there is any wobbling or instability, double-check the mounting and adjust accordingly.
7. Maintain the Swing
Regularly inspect the mounting hardware and swing fabric for wear and tear. Tighten any loose screws or bolts, and ensure that the swing is always securely attached before each use. Proper maintenance will ensure your swing remains safe and functional for years to come.
Tips for a Successful Yoga Swing Practice
- Start slow: If you’re new to aerial yoga, ease into your practice and work with a qualified instructor.
- Use a mat: Place a yoga mat or soft padding underneath the swing to protect yourself from falls.
- Safety first: Always ensure the swing is mounted securely before use.
Final Thoughts
Hanging a yoga swing in your apartment is an excellent way to enhance your yoga practice and experience the many benefits of aerial yoga. By following these steps and using the right equipment, you can ensure a safe and enjoyable experience. Whether you have a small apartment or a spacious living room, with the right installation, you can swing your way to better flexibility, strength, and relaxation!
Ready to hang your yoga swing? Follow these simple steps and get ready for an exciting new addition to your home workout routine.
